How to Configure Better Web Site Security with Cloudflare and Netlify

Working in the security industry and having an insecure site looks super bad.
So imagine how I felt after discovering that the security report for my brand new personal site sucked:

To fix this, I decided to improve my security score. I’m sharing my findings and solutions here so you can improve your site security too.
This is good not only for improving your site security, but also to improve your SEO performance on Google.
Assessment… How bad was it?
For starters, I decided to check my personal site security.
My first impression was that my site security was fine. I don’t host anything fancy, I have HTTPS, I checked which libraries/packages I use, and I took the easiest path towards risk avoidance:
- 100% static built (plain vanilla markdown)
- No Wordpress or CMS.
- No forms or input
This approach is easy to take when you’re just hosting a personal portfolio or blog (not for a full business).
To host, build, and serve my site, I use:
- CloudFlare for CDN and free HTTPS
- GitHub for hosting page source
- Hugo for building my static site pages using Go
To check my security. I used:
- securityheaders.com to check my site headers
- SSL Labs to check my site cryptography
And the results were quite disappointing:
I didn’t have any security headers (except for X-Frame-Options):

Also, my DNSSEC was off and I was supporting legacy SSL and not using the latest TLS implementations.
I had to do something about it.
Security Fine-tuning in Cloudflare
My first idea was to fix everything in Cloudflare. I started by enabling DNSSEC.
Enable DNSSEC. DNSSEC helps prevent DNS hijacking. To enable it, I had to turn the DNSSEC on in my account, and then import a DS record (a signer record) created by Cloudflare to the registrar where I bought my domain.

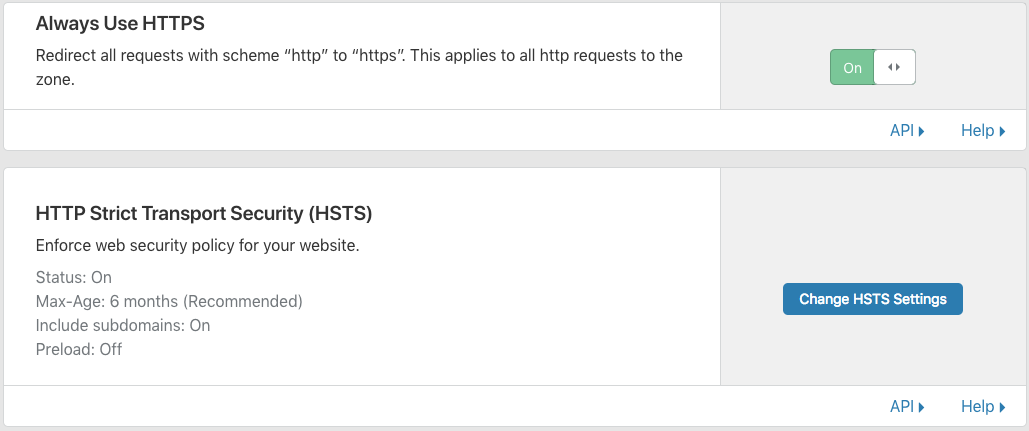
Configure HTTPS only, by enabling the Always Use HTTPS flag and Enabling the HTTP Strict Transport Security (HSTS):

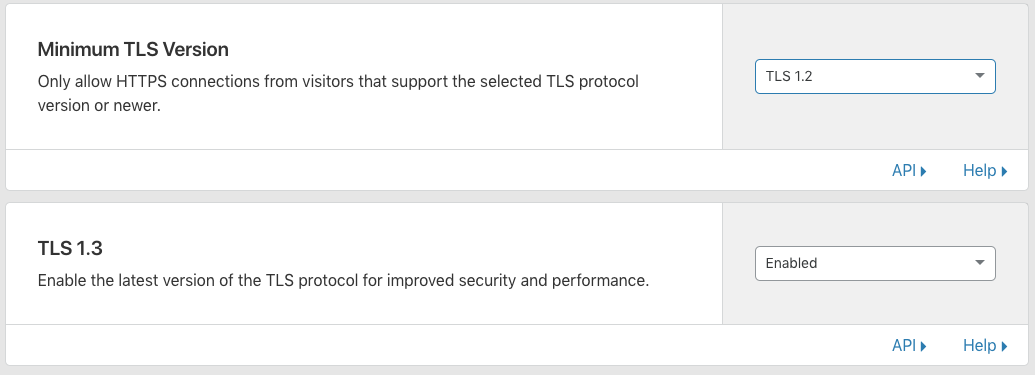
Use only TLS v1.2 and superior, by changing the minimum TLS version under the Crypto settings and by enabling TLS 1.3:

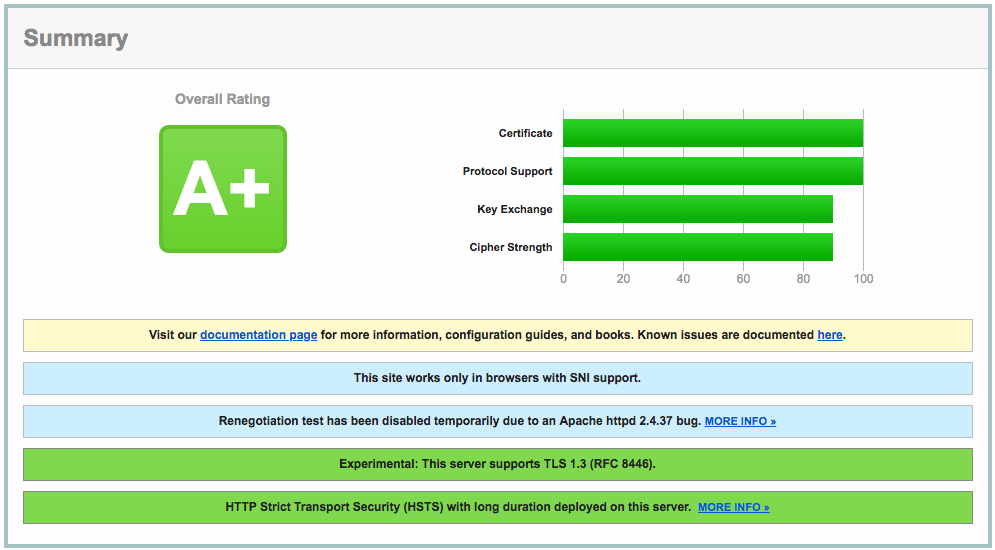
Cloudflare fixed all the issues pointed out by Qualys (A+):

It also improved my header security score (C-):

That’s huge progress, but not enough.
Netlify to the Rescue
For security headers, I was thinking about using Cloudflare Workers – an awesome serverless implementation that runs functions straight from your CDN, reducing latency – but Cloudflare started charging $5/month for it, so I decided to try something else.
For that, I decided to use Netlify.
Netlify is a static host built for developers with native GitHub integration. It compiles and updates your website automatically every time you merge something into your repo.
I had used Netlify in the past for a project that didn’t pan out, but I was really impressed with their capabilities. Their premium tier supports a lot of cool things, like generating staging websites from git branches, providing contact forms, etc.
To “migrate” from GitHub pages to Netlify, I used this tutorial provided by Hugo.
After that, I created a Netlify config file called netlify.toml and went to work on my site headers, following the recommendations from Scott Helme:
[[headers]]
  for = "/*"
  [headers.values]
    X-Frame-Options = "DENY"
    X-XSS-Protection = "1; mode=block"
    Content-Security-Policy = "form-action https:"
    Referrer-Policy = "strict-origin-when-cross-origin"
    Strict-Transport-Security = "max-age=2592000"
    Feature-Policy = "vibrate 'none'; geolocation 'none'; midi 'none'; notifications 'none'; push 'none'; sync-xhr 'none'; microphone 'none'; camera 'none'; magnetometer 'none'; gyroscope 'none'; speaker 'none'; vibrate 'none'; fullscreen 'none'; payment 'none'"
After changing my configurations, I finally got an A+ on Security Headers! :)

Shoutouts
Improving my site security was great. I learned a lot more about web security and I could fix everything without spending a dime:
- Thank you NetSparker and Scott Helme for securityheaders.com.
- Thank you Qualys for SSL Labs.
After all the configuration:
- I didn’t have a single security header problem. (thank you Netlify)
- I improved my DNSSEC and got the best HTTPS configuration. (thank you CloudFlare)
I also accidentally improved my site look and feel (thank you Hugo) and performance:

I hope you’ve enjoyed this story about how I improved my site’s security. If you want to learn more about security, follow @oktadev.
Okta Developer Blog Comment Policy
We welcome relevant and respectful comments. Off-topic comments may be removed.