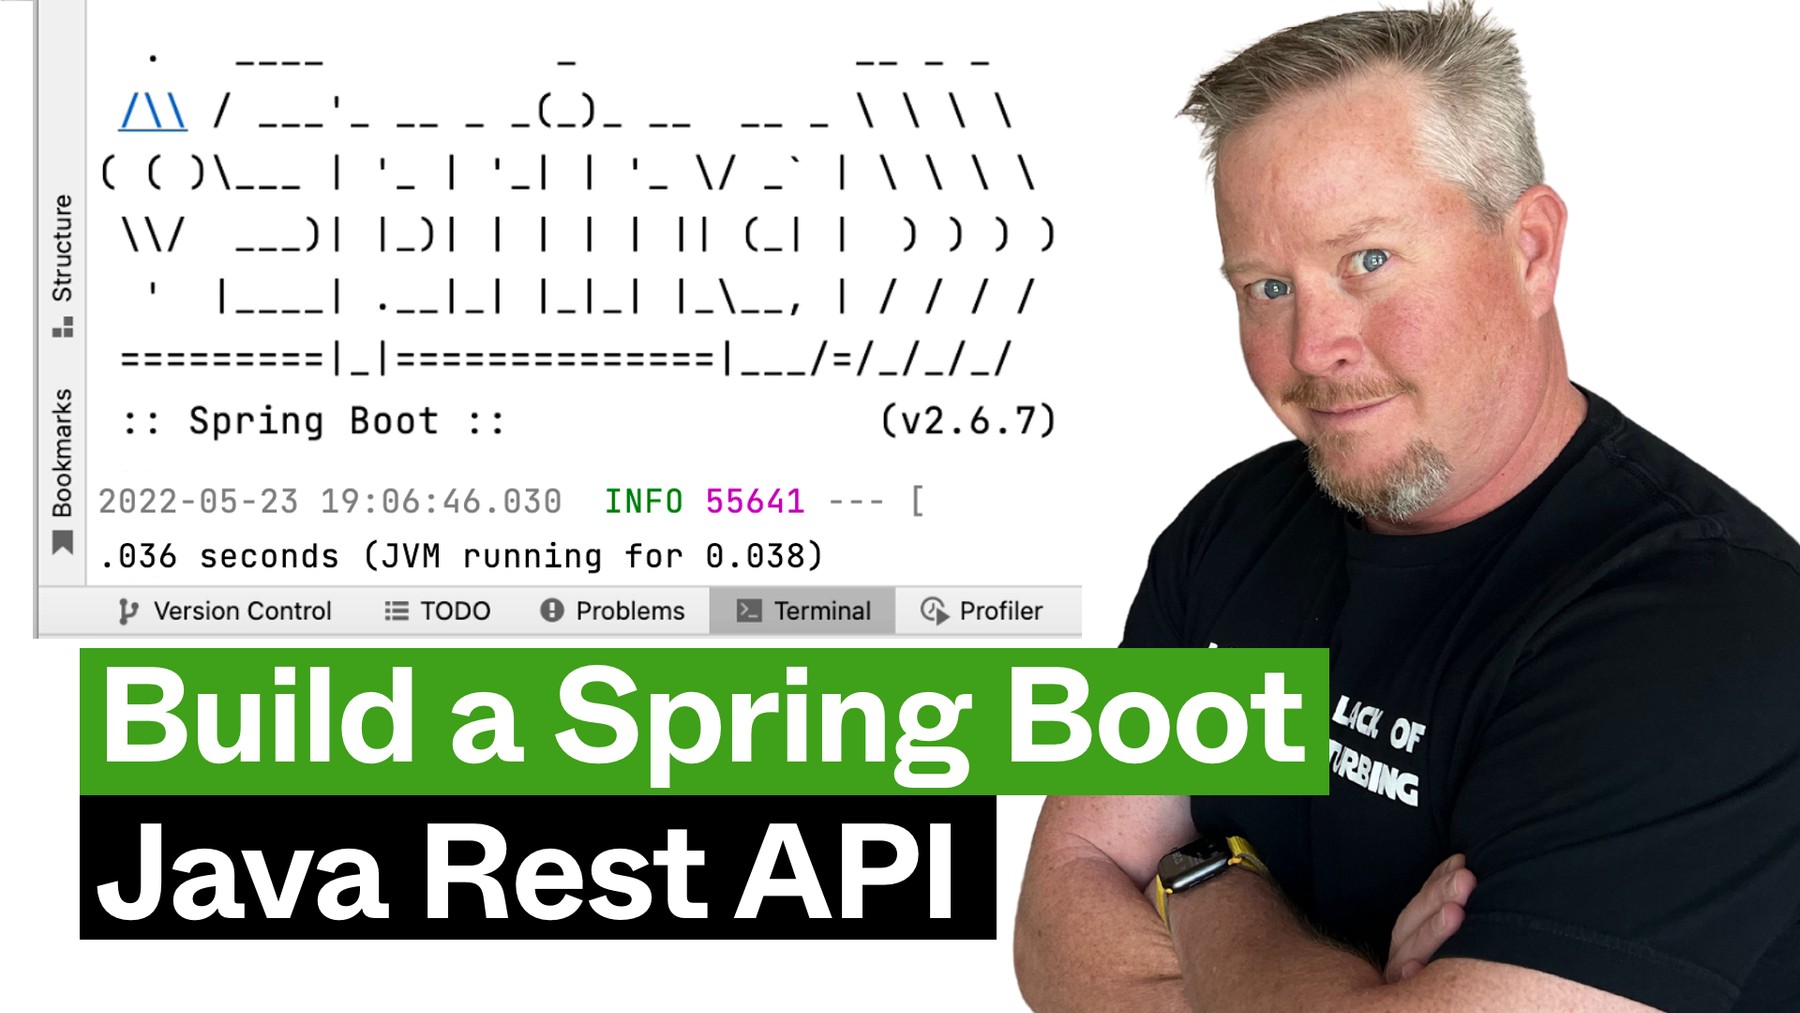
Start a Java REST API with Spring Boot

In this tutorial, I’ll show you how to create a secure REST API and native image with Spring Boot. You’ll see how to run a secure, OAuth 2.0-protected, Java REST API that allows JWT authentication. Then, I’ll compare its performance with Micronaut, Quarkus, and Helidon.
This tutorial is also available as a screencast.
Prerequisites:
-
SDKMAN (for Java 17 with GraalVM)
-
HTTPie (a better version of cURL)
-
An Okta Developer Account (or the Okta CLI)
| The brackets at the end of some steps indicate the IntelliJ Live Templates I used in the video. You can find the template definitions at mraible/idea-live-templates. |
Install a JDK with GraalVM
Use SDKMAN to install Java 17 with GraalVM
sdk install java 22.1.0.r17-grl
Generate an OAuth 2.0 access token
-
Install the Okta CLI and run
okta registerto sign up for a new account. If you already have an account, runokta login. -
Run
okta apps create spa. Setoidcdebuggeras an app name and press Enter. -
Use
https://oidcdebugger.com/debugfor the Redirect URI and set the Logout Redirect URI tohttps://oidcdebugger.com. -
Navigate to the OpenID Connect debugger website.
-
Fill in your client ID
-
Use
https://{yourOktaDomain}/oauth2/default/v1/authorizefor the Authorize URI -
Select code for the response type and Use PKCE
-
Click Send Request to continue
-
-
Set the access token as a
TOKENenvironment variable in a terminal window.TOKEN=eyJraWQiOiJYa2pXdjMzTDRBYU1ZSzNGM...
Start a Spring Boot Java REST API
-
Create a Spring Boot app with OAuth 2.0 support:
https start.spring.io/starter.zip \ bootVersion==2.6.7 \ dependencies==web,oauth2-resource-server,native \ packageName==com.okta.rest \ name==spring-boot \ type==maven-project \ baseDir==spring-boot | tar -xzvf - -
Modify
pom.xmlto usetomcat-embed-programmaticinstead of the default Tomcat.<dependency> <groupId>org.springframework.boot</groupId> <artifactId>spring-boot-starter-web</artifactId> <exclusions> <exclusion> <groupId>org.apache.tomcat.embed</groupId> <artifactId>tomcat-embed-core</artifactId> </exclusion> <exclusion> <groupId>org.apache.tomcat.embed</groupId> <artifactId>tomcat-embed-websocket</artifactId> </exclusion> </exclusions> </dependency> <dependency> <groupId>org.apache.tomcat.experimental</groupId> <artifactId>tomcat-embed-programmatic</artifactId> <version>${tomcat.version}</version> </dependency> -
Add a
HelloControllerclass that returns the user’s information: [sb-hello]package com.okta.rest.controller; import org.springframework.web.bind.annotation.GetMapping; import org.springframework.web.bind.annotation.RestController; import java.security.Principal; @RestController public class HelloController { @GetMapping("/hello") public String hello(Principal principal) { return "Hello, " + principal.getName() + "!"; } } -
Configure the app to be an OAuth 2.0 resource server by adding the issuer to
application.properties.spring.security.oauth2.resourceserver.jwt.issuer-uri=https://{yourOktaDomain}/oauth2/default -
Add a
SecurityConfigurationclass to configure JWT authentication: [securityconfig]package com.okta.rest; import org.springframework.security.config.annotation.web.builders.HttpSecurity; import org.springframework.security.config.annotation.web.configuration.EnableWebSecurity; import org.springframework.security.config.annotation.web.configuration.WebSecurityConfigurerAdapter; import org.springframework.security.config.annotation.web.configurers.oauth2.server.resource.OAuth2ResourceServerConfigurer; @EnableWebSecurity public class SecurityConfiguration extends WebSecurityConfigurerAdapter { @Override protected void configure(HttpSecurity http) throws Exception { http .authorizeRequests(request -> request.anyRequest().authenticated()) .oauth2ResourceServer(OAuth2ResourceServerConfigurer::jwt); } }
Run and test your Spring Boot REST API with HTTPie
-
Start your app from your IDE or using a terminal:
./mvnw spring-boot:run
-
Test your API with an access token.
http :8080/hello Authorization:"Bearer $TOKEN"
Build a native Spring Boot App
-
Compile your Spring Boot app into a native executable using the
nativeprofile:./mvnw package -Pnative
To build a native app and a Docker container, use the Spring Boot Maven plugin and ./mvnw spring-boot:build-image. -
Start your Spring Boot app:
./target/demo
-
Test it with HTTPie and an access token:
http :8080/hello Authorization:"Bearer $TOKEN"
Startup time comparison
I compared startup times between frameworks by running each image three times before recording the numbers. Then, I ran each app five more times and averaged the results. I gathered these numbers on a 2019 MacBook Pro with an SSD, 2.4 GHz 8-Core Intel Core i9 processor, and 64 GB of RAM.
Versions used: Quarkus 2.9.0, Micronaut 3.4.3, Helidon 2.5.0, and Spring Boot 2.6.7 with Spring Native 0.11.5.
Memory usage comparison
I tested the memory usage (in megabytes) of each app using the command below. I ran it right after I started the app, after a single authenticated request, and after five authenticated requests.
ps -o pid,rss,command | grep --color <executable> | awk '{$2=int($2/1024)"M";}{ print;}'The chart below shows the memory usage after five requests.
Comparing Native Java REST API Frameworks Live Stream
I missed Devoxx France this year, but I’m still doing my presentation! I’ll be live-streaming Comparing Native Java REST API Frameworks on June 7, 2022 at 6:00 MDT (14:00 CEST). Join me or watch the recorded version below!
Secure Native Java with Spring Boot FTW!
⚡️ Create a secure REST API with Spring Boot:
okta start spring-boot
okta start spring-boot -b webflux
🚀 Find this example’s code on GitHub: @oktadev/native-java-examples/spring-boot
👀 Related blog post: Build Native Java Apps with Micronaut, Quarkus, and Spring Boot
Okta Developer Blog Comment Policy
We welcome relevant and respectful comments. Off-topic comments may be removed.