A Developer's Guide To Docker - Docker Swarm
Redundancy is a big deal when scaling websites. However, deploying and managing clusters of containers can quickly become untenable. While there are a few container orchestration tools out there like Kubernetes and Mesosphere (DC/OS), Docker has its own called Docker Swarm Mode. Swarm Mode allows you to deploy, scale, and manage clusters of Docker containers from a single command window.
In this tutorial, I’ll show you how to create a swarm, create some virtual machines that will be part of the swarm, deploy containers to the swarm, and scale those containers horizontally. Let’s get started!
Install Docker Dependencies
For this tutorial, you’ll need Docker installed. I am using the latest version of Docker tools (17.12.0-ce). To ensure you have it, run docker -v in your command shell and you should see a version close to that. If you don’t have Docker installed, you can get download it from the Docker website.
You’ll also need some sort of virtual machine software. VirtualBox from Oracle is free to download at https://www.virtualbox.org/wiki/Downloads and works on most operating systems.
If you are on Windows, make sure you are using Linux containers by right-clicking on the whale icon in the Windows bar at the bottom of your screen and if you see “Switch to Windows containers…” in the menu items, then you are using Linux containers. Otherwise you will see a “Switch to Linux containers…” in the context menu.
Create Some Virtual Machines with Docker Machine
To make this a little more realistic, let’s use Docker Machine. If you are on Mac or Windows, Docker Machine is installed with Docker. If you are on a Linux machine you may have to install it by following these instructions.
Docker Machine is an easy way to create virtual Docker hosts, aka virtual machines with Docker already installed on them. Docker Machine uses whatever virtualization software you have installed to create these VMs. In this case, assuming you’ve installed VirtualBox, that is what Docker Machine will use to provision VMs. You should be able to see you have no virtual machines currently managed by Docker Machine by running docker-machine ls at your command prompt. You should see some output like this:
NAME ACTIVE DRIVER STATE URL SWARM DOCKER ERRORS
To create your first virtual host, run the command:
docker-machine create --driver virtualbox m1
This may take a few minutes as the Boot2Docker ISO may be out of date (as mine was) and it is provisioning resources from your host (disk space, RAM, etc). Mine also took a minute to find an IP for the new VM. Eventually you will see “Docker is up and running!” near the bottom of the output.
Also, create another VM called “w1”.
docker-machine create --driver virtualbox w1
Once that finishes, you can ensure both were created successfully as well as get some information about the VMs by running docker-machine ls. The output will look something like below (the IP addresses may be different).
NAME   ACTIVE   DRIVER       STATE     URL                         SWARM   DOCKER        ERRORS
m1     -        virtualbox   Running   tcp://192.168.99.100:2376           v18.01.0-ce
w1     -        virtualbox   Running   tcp://192.168.99.101:2376           v18.01.0-ce
Initialize Docker Swarm Mode
You’re going to initialize Docker Swarm on the “m1” VM. To do that, you’ll need to be operating on that machine. You’ll do that by sshing into the “m1” machine. Docker Machine makes this easy:
docker-machine ssh m1
This should drop you into a command line on the virtual machine.
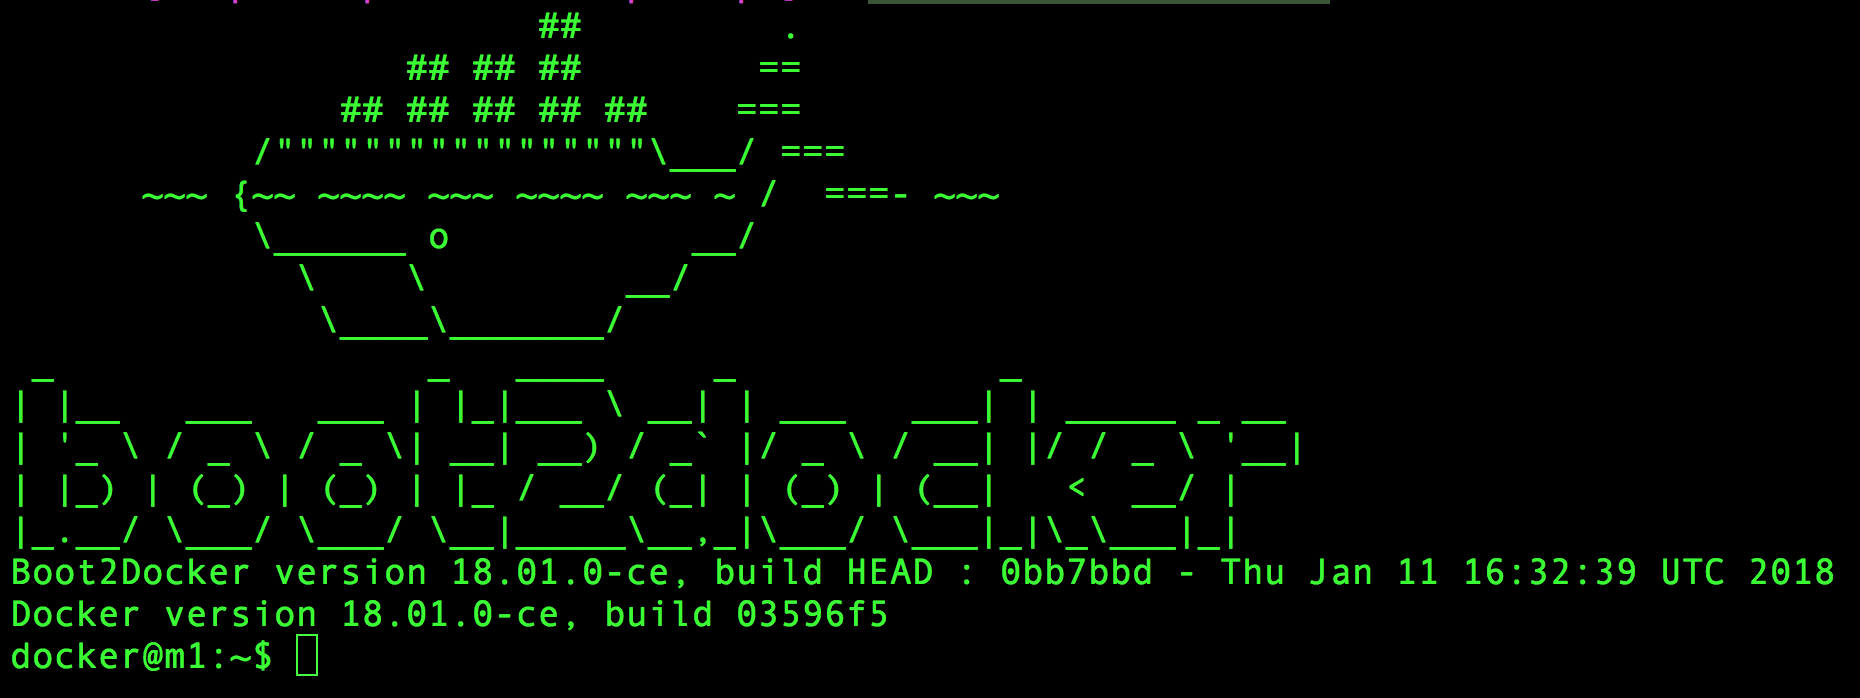
You can now initialize the swarm:
docker swarm init --advertise-addr 192.168.99.100
Your IP address for --advertise-addr may differ, but it should be the IP address of the “m1” virtual machine from the docker-machine ls output above.
You will see output that swarm mode was initialized and that the node you are currently on (m1) is a manager for the swarm.
Swarm initialized: current node (xjrema6dtbyhwchuiskflhkzs) is now a manager.

To add a worker to this swarm, run the following command:

    docker swarm join --token SWMTKN-1-3x2qs4opurzbk9uhngxjvt9g0a49qmf9r0c1spk6h73zrpkvkg-4li8vbz5i0nokggb9ayfsmdwf 192.168.99.100:2377

To add a manager to this swarm, run 'docker swarm join-token manager' and follow the instructions.
Your tokens and IPs may vary, but Docker is helping you out here by assuming that you’re going to want to join some workers to this swarm (thanks Docker!). Copy the docker swarm join --token ... command and exit this virtual machine by simply typing exit at the command line.
Next, you’ll ssh into the “w1” VM and join it to the swarm as a worker node.
docker-machine ssh w1
Then run the command you copied to join the swarm and you will see a very simple output telling you that you’ve joined the swarm as a worker.
This node joined a swarm as a worker.
You can verify this node is part of a swarm by running the docker info command on either virtual machine. You will see a bunch of output, but the stuff you care about will be under the Swarm header. Running this on the “w1” machine will show output like below.
...
Swarm: active
 NodeID: su9ywsey3i2pmpyzstvau3wre
 Is Manager: false
 Node Address: 192.168.99.101
 Manager Addresses:
  192.168.99.100:2377
...
On the manager node it will be only slightly different:
...
Swarm: active
 NodeID: xjrema6dtbyhwchuiskflhkzs
 Is Manager: true
 ClusterID: e0uwcyffisncxhb0fvyxji4gl
 Managers: 1
 Nodes: 2
...
You now have a swarm of two nodes working together! Next, you’ll add some services (the Swarm equivalent of containers) to this swarm and watch it work its magic visually.
Manage Docker Swarm Services
If you are not already, ssh into the “m1” node.
docker-machine ssh m1
In order to visualize what Docker Swarm is doing, you’ll use a visualizer created by Docker called docker-swarm-visualizer. From the command line of m1, run:
docker run -it -d -p 8080:8080 -v /var/run/docker.sock:/var/run/docker.sock dockersamples/visualizer
This will create a container (that will not be managed by the swarm) so you can visualize what’s going on in the swarm.
This will take a few moments as it will pull down the image to run the visualizer. Once it’s up and running, go to a browser and put the IP address of the m1 node with a port of 8080 into the browser’s address bar.
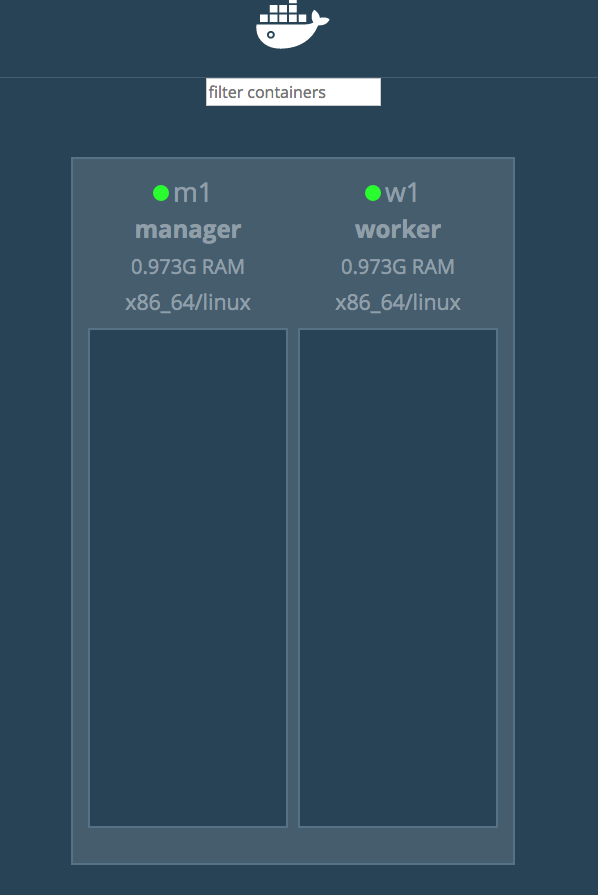
Finally, create a service to run the simple nginx container.
docker service create --name=web --publish=80:80/tcp nginx
You will almost immediately see the m1 node in the visualizer add a box called web. The “light” on the box will be red until the service has been completely created and started. Once it’s done, the “light” will turn green.
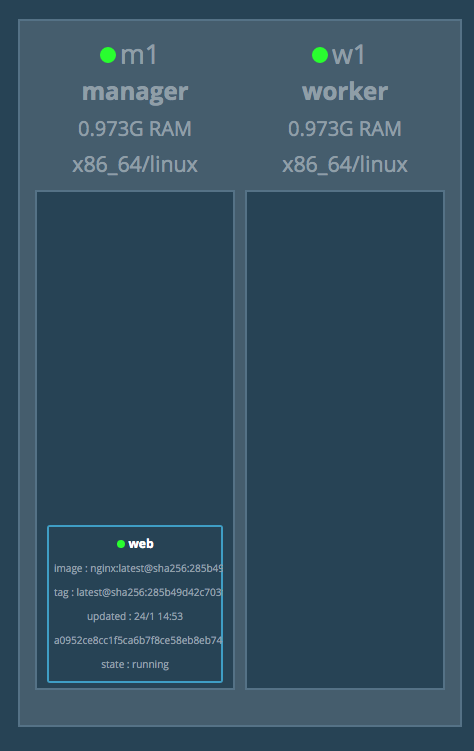
To scale this service horizontally, simply tell Docker to scale it.
docker service scale web=4
You can see the services starting up in the visualizer. Docker will spread the services evenly across the nodes.
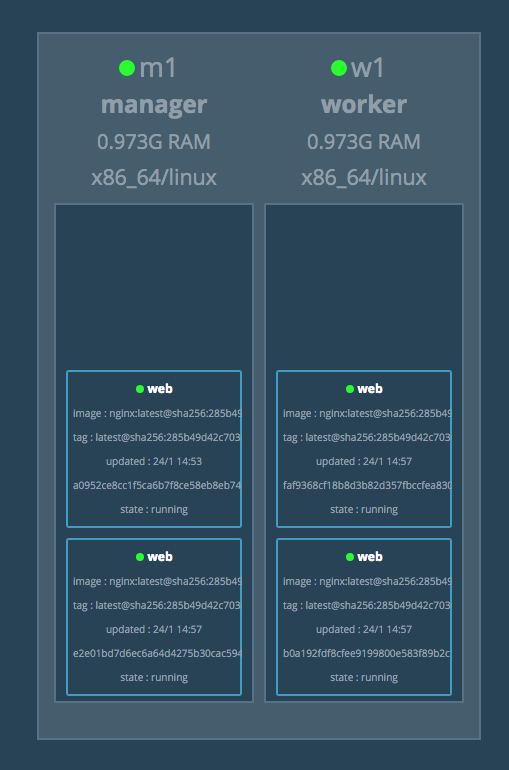
You can scale the service anyway you like: up or down by simply specifying the number of instances of the service you want running. You can check the service by running
docker service list
Which will generate output similar to:
ID                  NAME                MODE                REPLICAS            IMAGE               PORTS
evo4eseldujq        web                 replicated          4/4                 nginx:latest        *:80->80/tcp
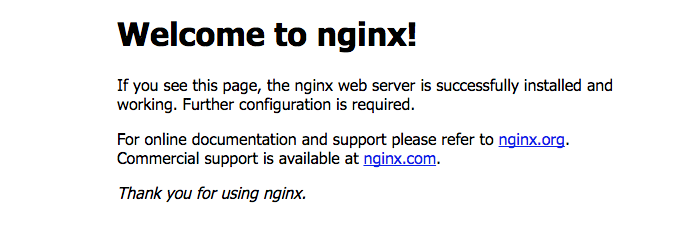
This tells you that the service named “web” is replicated, that 4 out of 4 instances are running, and that the service is based on the nginx:latest image. You can even go to the browser for the IP address of the manager node on port 80 and see the NGINX service running!
You are now ready to go conquer some of your own Docker Swarms now!
Learn More
If you enjoyed this post, I’d encourage you to learn more about learn more about Docker Machine. You can specify other spreading techniques for the swarm, and even specify that Docker only deploy these services to specific nodes in the cluster based on labels. Learn more about Swarm from its Product Documentation. Or, if you’d like to learn more about what you can do with Docker, check out the other posts in this series:
As always, hit me up in the comments with any questions, and follow @oktadev on Twitter for more awesome content from the team at Okta.
Okta Developer Blog Comment Policy
We welcome relevant and respectful comments. Off-topic comments may be removed.